


Mastering Metafields in Shopify (For Beginners!)

If you’re serious about running your Shopify business, you’ll realize that you’re pretty limited in what type of information you can show on product and collection pages.
Don’t get me wrong, Shopify is amazing if you want to put together a store without prerequisite web and eCommerce knowledge. It also comes with a powerful variant and inventory management system to boot.
But for real users (i.e. people looking to buy your products), just out-of-the-box features won’t cut it.
This is where metafields come into play. In this guide, let’s go over what they are and how you can leverage them for user and SEO benefits.
What are Shopify metafields?
For a rather technical-sounding name, metafields serve a simple core purpose: to provide extra information.
Depending on your niche, there’s likely a lot of data types Shopify doesn’t support by default.
PC components compatible with a specific motherboard, food expiry date, ingredients in cosmetic products are a few examples.
You can make an argument that putting everything in the product description field is fine, but then you realize that it’s just treated as static text and thus not really useful for navigation, filters, etc.
Another problem is that it’s borderline impossible to keep it consistent across hundreds of products, visual or information wise.
With metafields, it’s easy to create and reuse custom data with just a few clicks. Then you can add them to your online store and style it up without any coding required.

One common use of metafields is to add unique features to a product or care guide for apparel.
How to add a metafield to my Shopify store?
For each type of custom data, you must create a metafield definition for it. Keep in mind that there’s a hard limit of 200 metafield definitions per resource (i.e. page type). In a normal setting you won’t be anywhere near this limit though.
From your Shopify admin, navigate to Settings > Custom data, then choose the type of page you want to assign your metafield to. For sake of demonstration, we will create a metafield for Products.
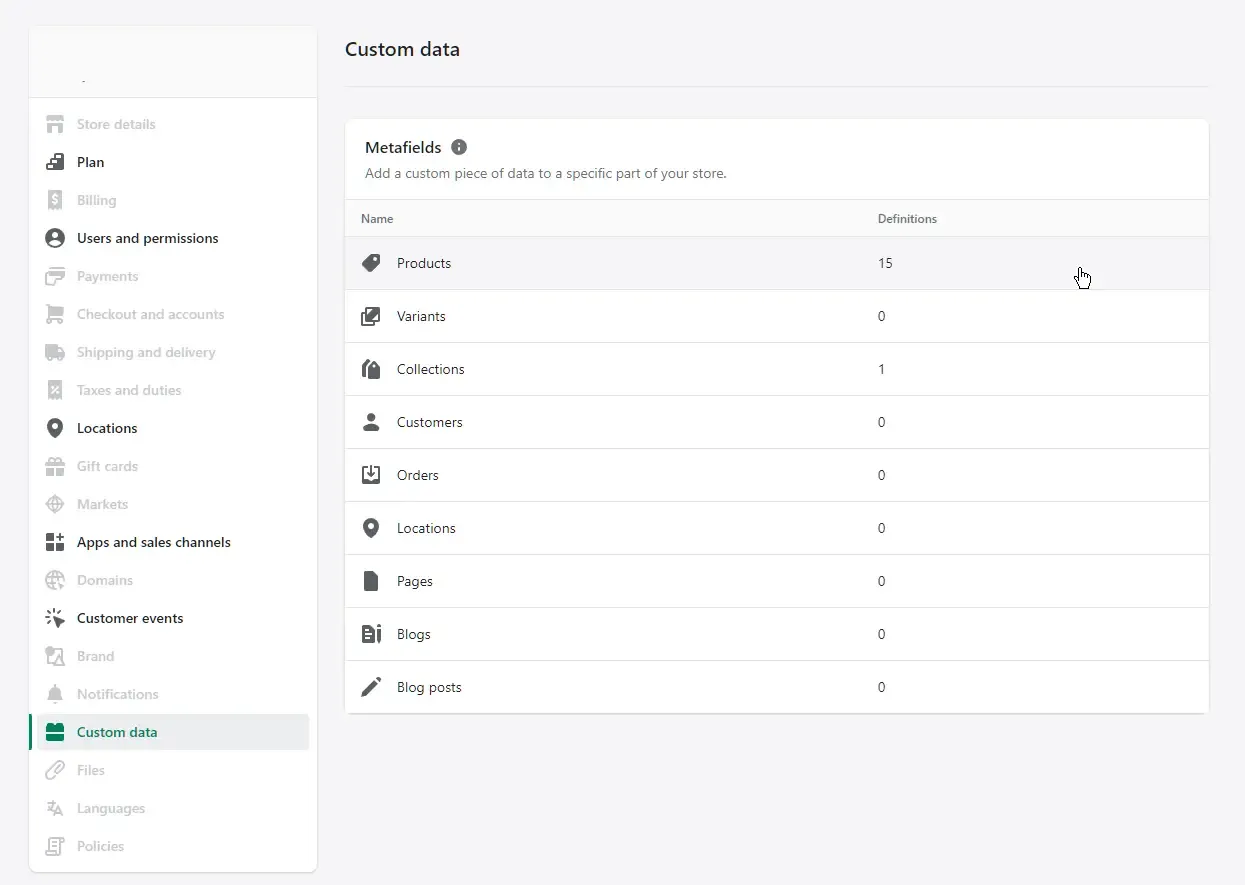
Click Add definition, and you will be greeted with this:
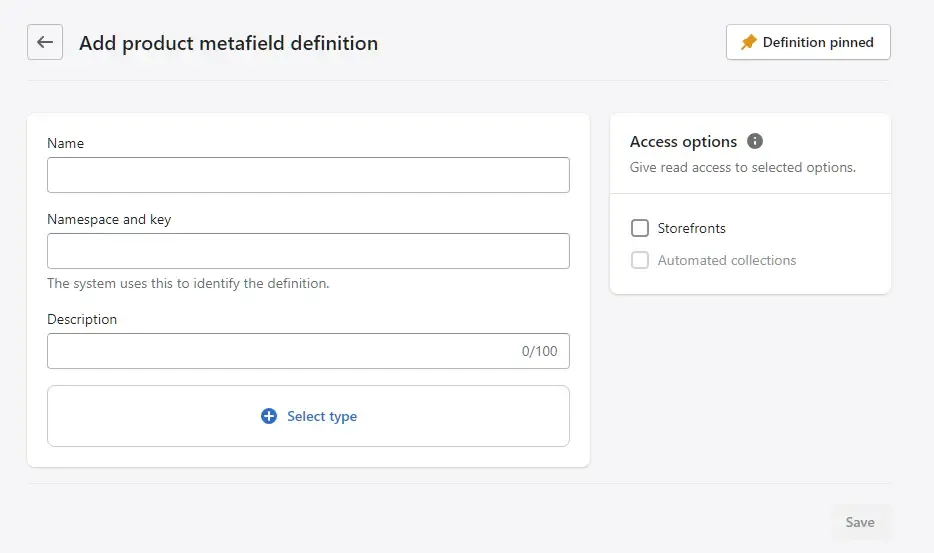
Here’s a rundown of each input field:
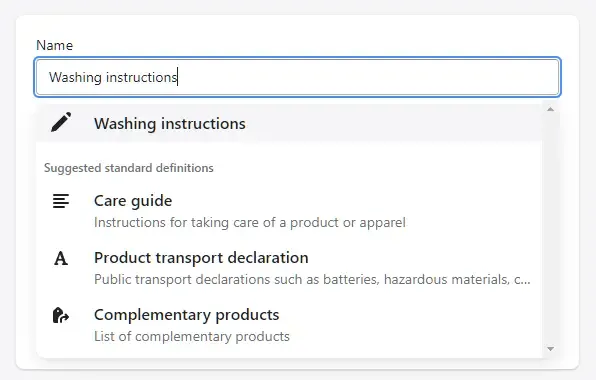
Name
Your reference name for this metafield. This (and everything else in this menu) is only visible in the admin panel. Nevertheless, give it an easily identifiable name. When you type in a name, Shopify might suggest a standard definition. Standard definitions are pre-configured for their specific use case and automatically integrates with your theme and apps.
We suggest using standard definition wherever possible. In this guide though, we’ll create a custom definition.
Namespace and key
This part might sound scary, but again it’s just a unique identifier string for your metafield. It follows a simple [namespace].[key] structure, and you can use the same namespace to group different keys together.
This is also purely for reference, but unlike Name, you will actually use this to refer to the metafield when you write custom code for it.
Shopify automatically generates a namespace and key combination when you give the custom field a Name, but you’re free to edit it to something more manageable.
Description
This optional value allows you to display short instructions or explanations next to this metafield. We usually use this to help store managers know how to input the correct values.
Type
You can select different types for your input value for validation and organization purposes. For many types, you can choose whether to accept input as a single value or as a list of values.
Here’s the full list of content types supported by Shopify as of 2023:
| Type | Description | Example use case |
|---|---|---|
| Date | Date values in ISO 8601 format (YYYY-MM-DD) | Expiry dates, shipping dates for products made-to-order |
| Date and time | Same as above, but must include a time | Sales events |
| Weight | Weight values, supports decimals and metric + imperial | Product specifications, package weight |
| Volume | Volume values, supports decimals and metric + imperial | Volume of a can of soft drink, how much a water bottle can hold |
| Dimension | Dimension values, supports decimals and metric + imperial | Furniture height, length of an HDMI cable |
| Integer | Whole numbers | Number of servings for food or drink products |
| Decimal | Decimal values | Precise measurements for products like jewelry or micro-electronics |
| File reference | Image, video or generic type files | Instruction manual, assembly guide, proof of calibration |
| Page reference | Link to another existing page | Delivery policy, measuring/installation guide for a range of products |
| Product reference | Link to another existing product | Products frequently bought together |
| Product variant reference | Link to another existing product variant | Other clothing items in the same size or color as the current one |
| Collection reference | Link to another existing collection | Relevant complementary product collections |
| Single line text | Plain text, no line breaks | Blurb at the top of a product page, 2-3 word features |
| Multi-line text | Plain text, supports line breaks | Custom shipping/order notes |
| Rich text | Text with styling options, similar to product/collection descriptions. How it’s handled depends on your theme | Long form content, FAQ sections that might include tables or hyperlinks |
| Color | RGB values | Give a product page a different background color depending on the mood |
| Money | Monetary values, same currency as store currency | Specifications about manufacture or shipping costs |
| Rating | Decimal values | Niche-specific grading scales |
| True or false | True or false, selected with a toggle checkbox | Show or hide product options |
| URL | Link values, can be limited to specific domains | Reviews or instructions hosted somewhere else |
| JSON | Raw JSON data, for advanced use | Tables of ingredients |
| Mixed reference | For advanced use only | Custom dynamic landing pages |
Validation
Also optional, you can use this to limit your input values to a specific range. Options will vary depending on what content type you select.
Here’s what we created for this demonstration. This metafield is in the navigation namespace and named room. It accepts one or multiple values out of 4 possible.
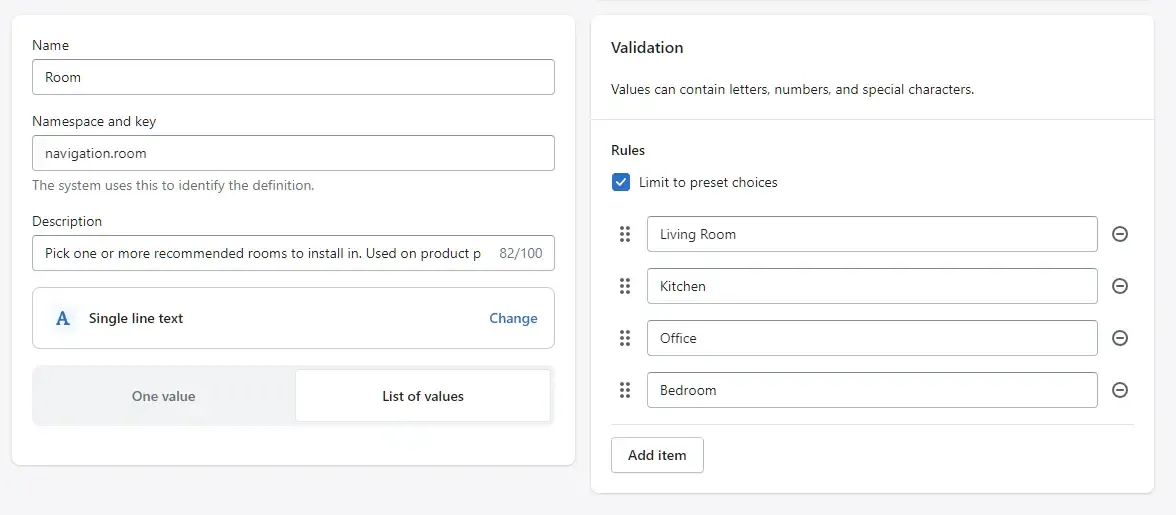
When you press save, take note of the full name for the metafield as it might come in handy later. This one is called “product.metafields.navigation.room” for reference.
Now that you have defined your first metafield, let’s actually add it to your product.
How to add Shopify metafields to my products?
Navigate to your product’s page in Shopify admin. Then simply scroll down to the bottom and you will see your new metafields.
Simply click on one of them and you’ll be prompted to enter a value. If it’s defined as a list, you’ll also have the option to add a new list item.
What type of metafields and how many you need really depends on the products you sell and whether you need backend management/integration with a supplier. Here’s a basic example if you sell window blinds online:
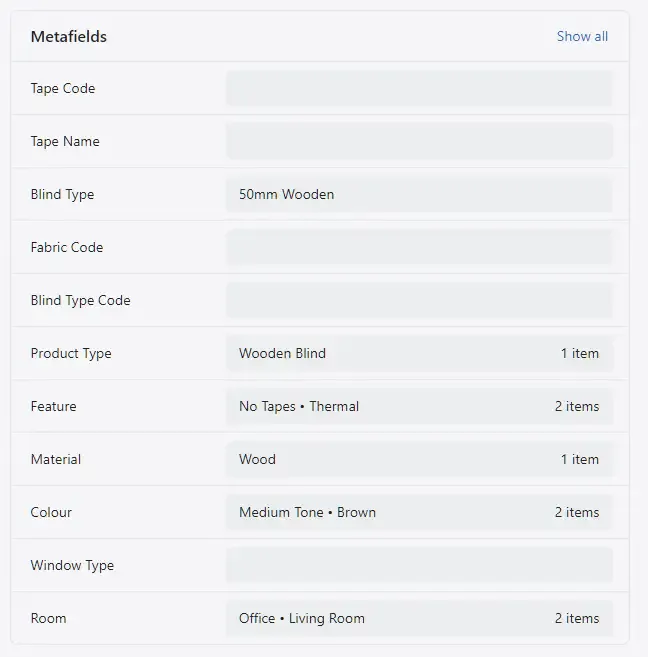
Peep the “Room” metafield we created just earlier.
How to bulk add or edit Shopify metafields
Adding a metafield to a single product or collection is easy. If you have hundreds of them though, it may be time-consuming to edit each one individually to add or update metafields.
Fortunately, Shopify offers a bulk edit feature that allows you to make changes to multiple products or collections at once. Here’s how to do it:
Bulk edit metafields using Shopify’s editor
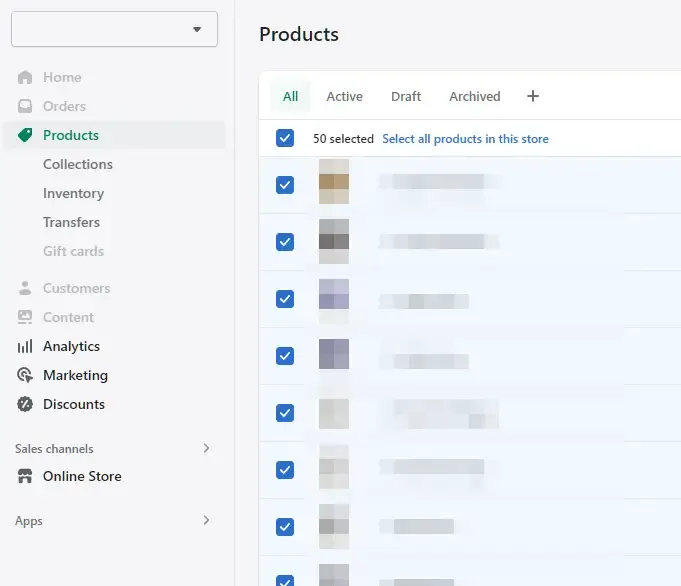
From your Shopify admin, head to Products, then select all of your products. If you have more than 50 products, click “Select all products in this store” too:
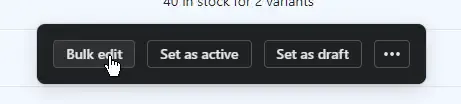
Then click “Bulk edit” on the box that pops up:
You will now be taken to the bulk editor page. Click the Columns in the top right corner:
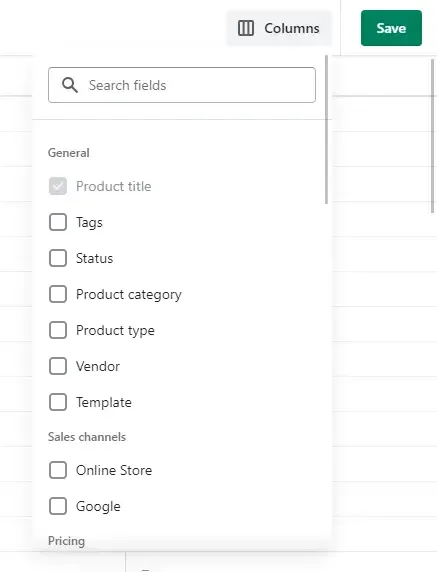
Scroll down to the bottom and select whichever metafield definitions you’d like to edit. After ticking your preferred checkboxes, bookmark the page so you don’t have to go through this process again when you eventually need to update the values.
Now you can add or edit values to multiple products at the same time. Remember to save when you’re done.
Using a third party app and a tracking sheet
The bulk editor is sufficient for setting up metafields for the first time. The tricky part though, is if you need to update thousands of products frequently.
We have a different process to handle this, using a spreadsheet dedicated to managing metafields and the Matrixify app:
- Export all of your products via the Products panel
- Import it to Excel or Google Sheets, then filter it to show each product’s URL handle once, on a single row.
- Create a new column for each metafield you want to update, and enter your value(s)
- Export it to a CSV or Excel file and import it back into Shopify with Matrixify, carefully assigning each column to the correct metafield.
As different content types have different syntax rules in a spreadsheet, if you’re using this approach for the first time, try these steps:
- Manually enter values for several products, including edge cases like multiple values for a list, empty values, etc.
- Bulk export your products using Matrixify
- Wait for Matrixify to process the export, then open the resulting file
- Take note of the metafield columns to learn the correct syntax and spreadsheet structure, then repeat for the rest of the products
Here’s what the spreadsheet would look like for window blind metafields:
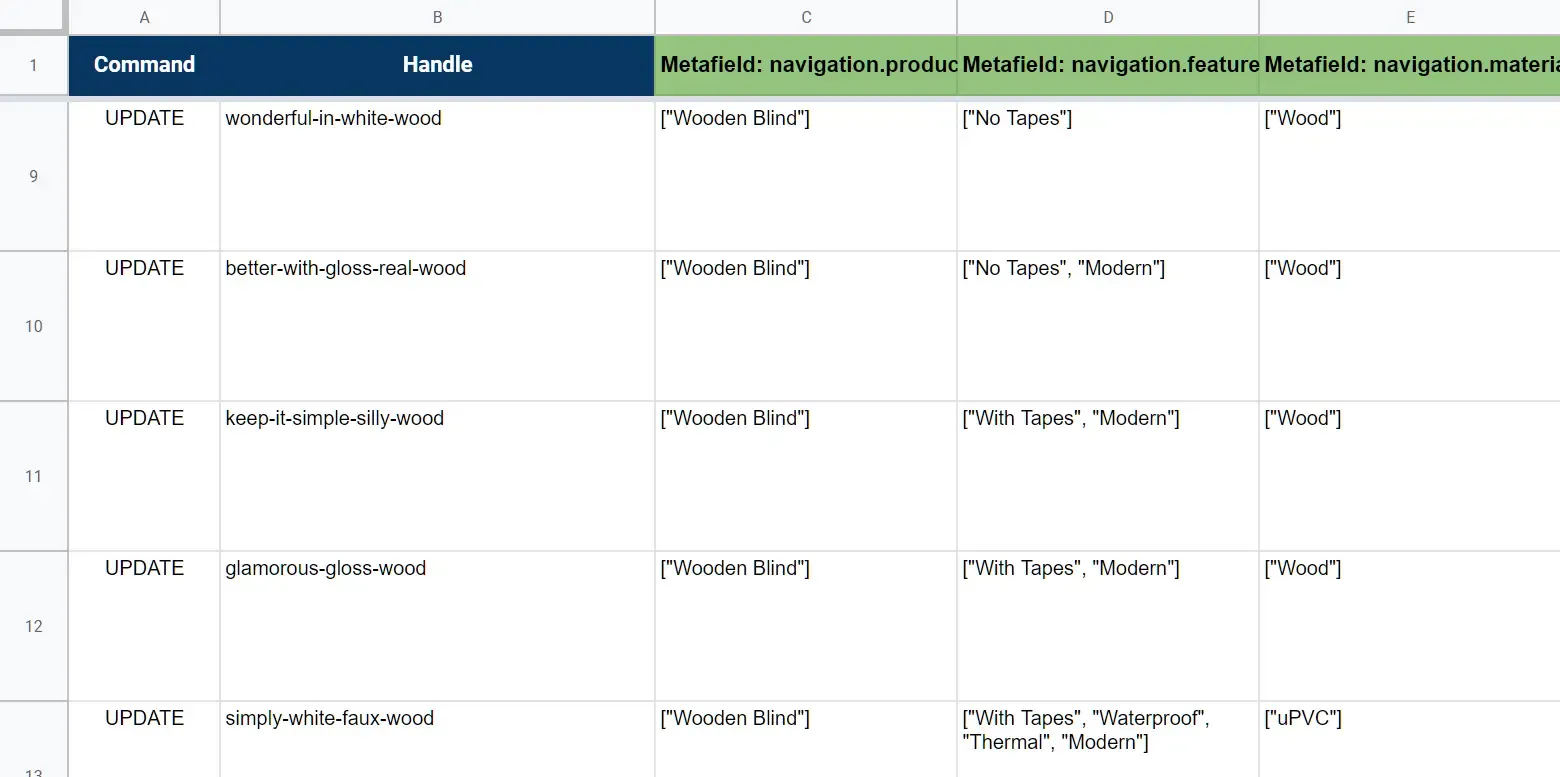
If your metafield accepts multiple values, you might see square brackets and quotation marks like this. Otherwise, it will most likely resemble plain text.
As with all bulk editing practices, be absolutely sure that you have read the instructions before mass updating anything.
After taking the time (and effort) to mass update your products and/or collections, it’s finally time to actually roll these new metafields to your storefront.
How to display Shopify metafields on your storefront
With Online Store 2.0 fully rolled out and compatible with most themes, it’s really simple to edit your theme to display metafields without any coding.
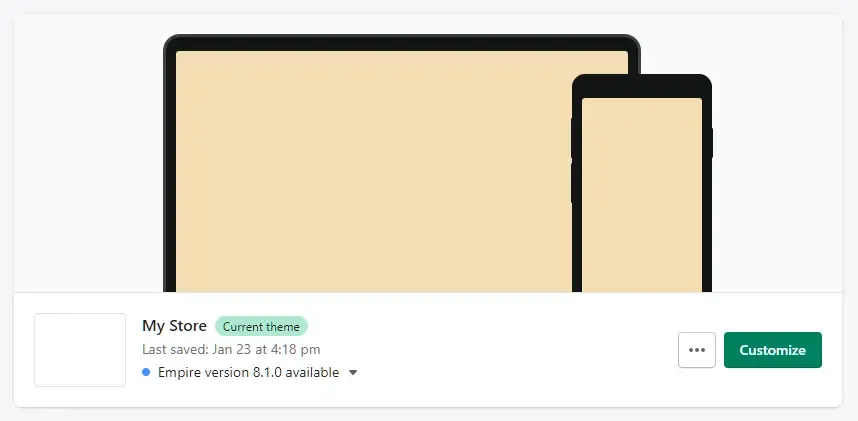
First, enter your theme builder by going to Online Store > Themes > Customize:
Then, select the page type on which you wish to display your metafield. In this demonstration we’re editing the default template for product pages:

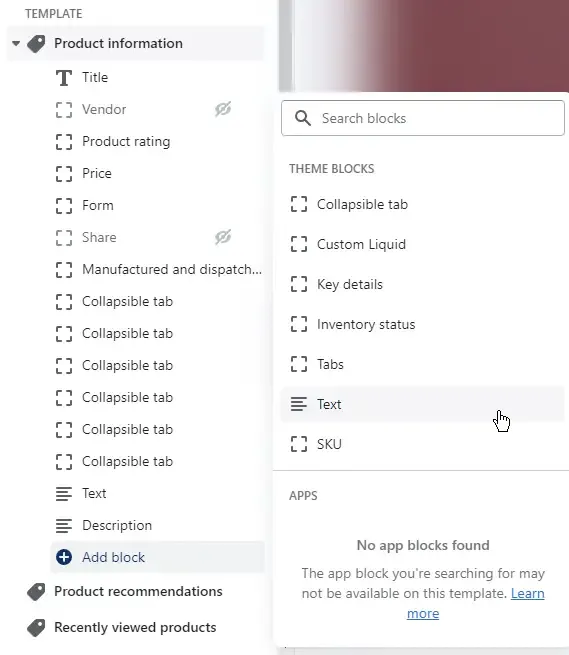
Once you’re in the right page, add a new block of text where you need to display your metafield:
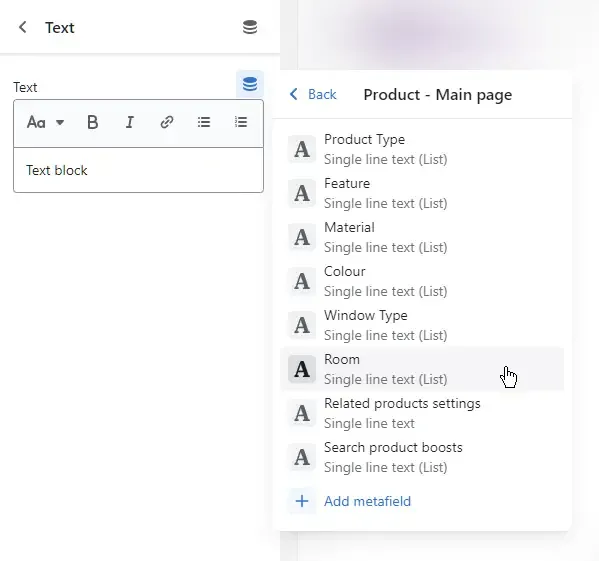
Don’t type in your metafield name. Instead, click on the “Insert dynamic source” icon, then the metafield definition you need.
This element still behaves exactly like every other text block though, so you can add static text and style it however you like:
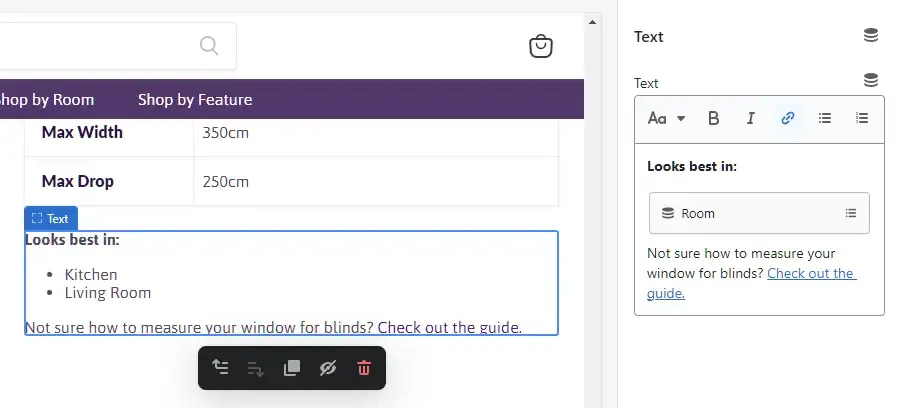
If your metafield accepts multiple values, it’s automatically formatted as an HTML list element. Huge success!
The metafield we have created is now dynamically inserted to every single product page. You can now save the theme and see it on the live storefront.
Conditional visibility for Shopify metafields
You’ve successfully added your shiny new metafield to your storefront, you’re happy to see an extra bit of helpful information for your visitors. Everyone rejoices.
Until you release a new product without filling the metafield.
If your input value is empty, it will look a bit… odd:

That is because while your dynamic data is blank and thus not visible, the rest of the block is just good old static text. It doesn’t really care that it shouldn’t be there in the first place!
There’s at least two way to get around this:
- Create a new template for products that don’t have this value and remove the text block altogether
- Require that every product has at least something filled in, even if it doesn’t make sense
But both ways are equally annoying to deal with.
To fix this, we recommend working with a developer to implement conditional visibility. But if you can handle writing a basic Liquid snippet, here’s how to do it:
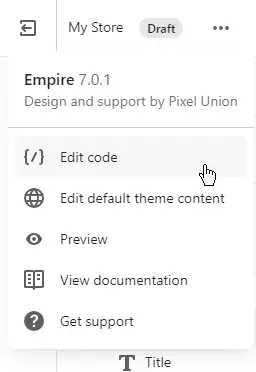
First, open the theme code editor by going to the top left corner of your theme builder, clicking on the 3-dot menu and choose Edit code:
In the Templates folder, find the template you were working on, and within it the text block you added:
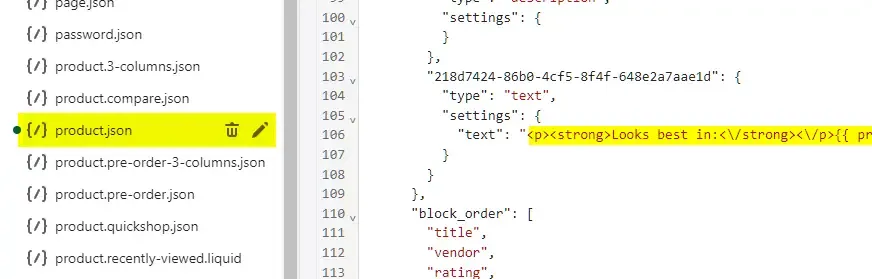
Copy the text in quotes (we’ve highlighted it in yellow). For reference, our example text block looks like this:
<p><strong>Looks best in:<\/strong><\/p>\n{{product.metafields.navigation.room | metafield_tag }}\n<p>Not sure how to measure your window for blinds? <a href=\""\/pages\/fitting-guides\"" title= \""How To Fit Blinds\"">Check out the guide.<\/a><\/p>Take your code and paste it into a JSON unescape tool like this one. Your output should look like this:
<p><strong>Looks best in:</strong></p>
{{product.metafields.navigation.room | metafield_tag }}
<p>Not sure how to measure your window for blinds? <a href="/pages/fitting-guides" title="How To Fit Blinds">Check out the guide.</a></p>
Now that’s much more legible.
Now, let’s add a simple conditional statement to only show this whole snippet if its product.metafields.navigation.room is not blank i.e. filled in:
{% if product.metafields.navigation.room != blank %}
<p><strong>Looks best in:</strong></p>
{{product.metafields.navigation.room | metafield_tag }}
<p>Not sure how to measure your window for blinds? <a href="/pages/fitting-guides" title="How To Fit Blinds">Check out the guide.</a></p>
{% endif %}
Almost there…
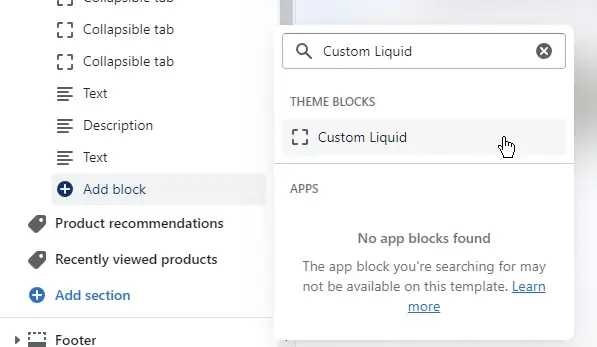
Return to your theme builder, this time you’ll add a Custom Liquid block instead:
Copy your new code snippet (with the {% if %} lines added), and paste it in the newly created block:
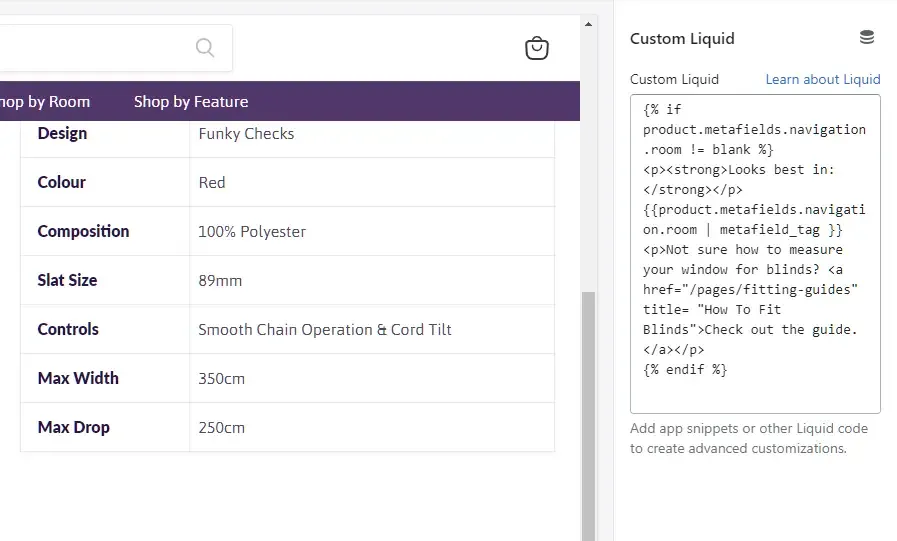
Lo and behold, the text block will be shown only if the product’s product.metafields.navigation.room field is set. Delete the other text block and save your theme for the changes to take effect.
Practical implementation of Shopify metafields
At Logeix, we don’t just tick checkboxes and toss you a list of H1s to update. Other than displaying helpful information on shopping pages, here’s a few other ways we use metafields on our clients’ stores:
Breadcrumbs
… but don’t most themes already come with them?
Well, that’s true. But if you have fixed your internal product links as you should have, they will be more or less useless.
The reason is that out of the box, Shopify checks the URL in the address bar to display breadcrumb links. And with the /collections/ part of the URL gone, it will only show Home > Product Name.
And also, wouldn’t you like more control over your breadcrumb links, including adding more than one layer?
By restoring the breadcrumbs functionality with custom metafields and enabling manual control, we can mass add hundreds of internal links to product pages.
(We actually have multiple guides for this, here’s a basic implementation)
Custom navigation
Here’s another one: adding sub-collections to collection pages.
On Blindstyle, we added swatches of blind styles (heh) to key collection pages. This not only adds a ton of internal linking juice to these pages, but also offers a pleasant browsing experience for visitors looking for specific options.
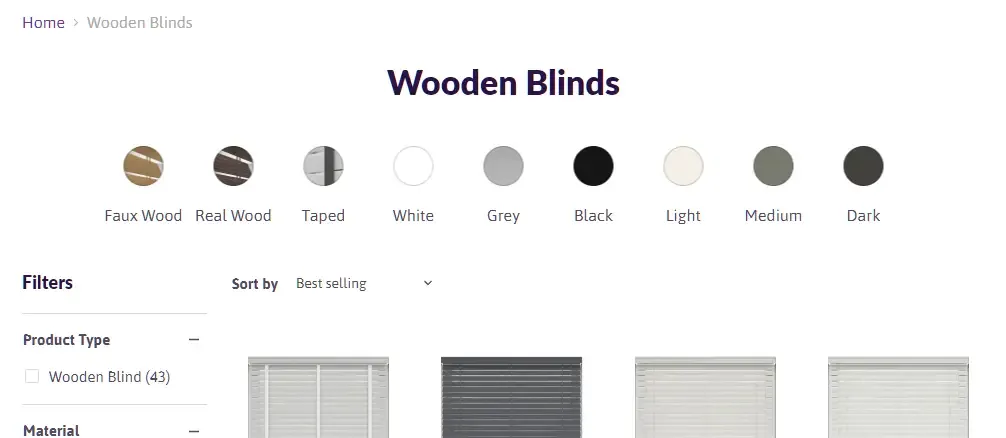
To create this, we utilized Shopify’s navigation menu to give the collection a list of sub-categories, and (you guessed it), image metafields for those fancy icons.
If you want this on your store, get a developer to help you with it, but here’s a guide for your reference.
Delisting products from the store
Sometimes, a product doesn’t really need to be indexed on search engines. That actually was the case with all of Blindstyle’s products, where we decided to rank collections instead.
There’s a relatively obscure metafield called seo.hidden that does the following:
- Removes the page from the sitemap
- Sets the page to
noindexandnofollow - Removes the page from your storefront’s search function
We discussed this in more detail here. Apart from a few cases, you most likely don’t need to do this often though.
Final thoughts
While Shopify’s built-in features are robust, there are limitations to the types of information you can add. Metafields allow you to add additional information that can help improve your store’s user experience and ultimately lead to more sales.
Learning how to actually use them though, is another story.
It’s pretty simple to configure and display dynamic information, but the most powerful implementations are usually done with the help of a developer.