{{ebook-chapter}}
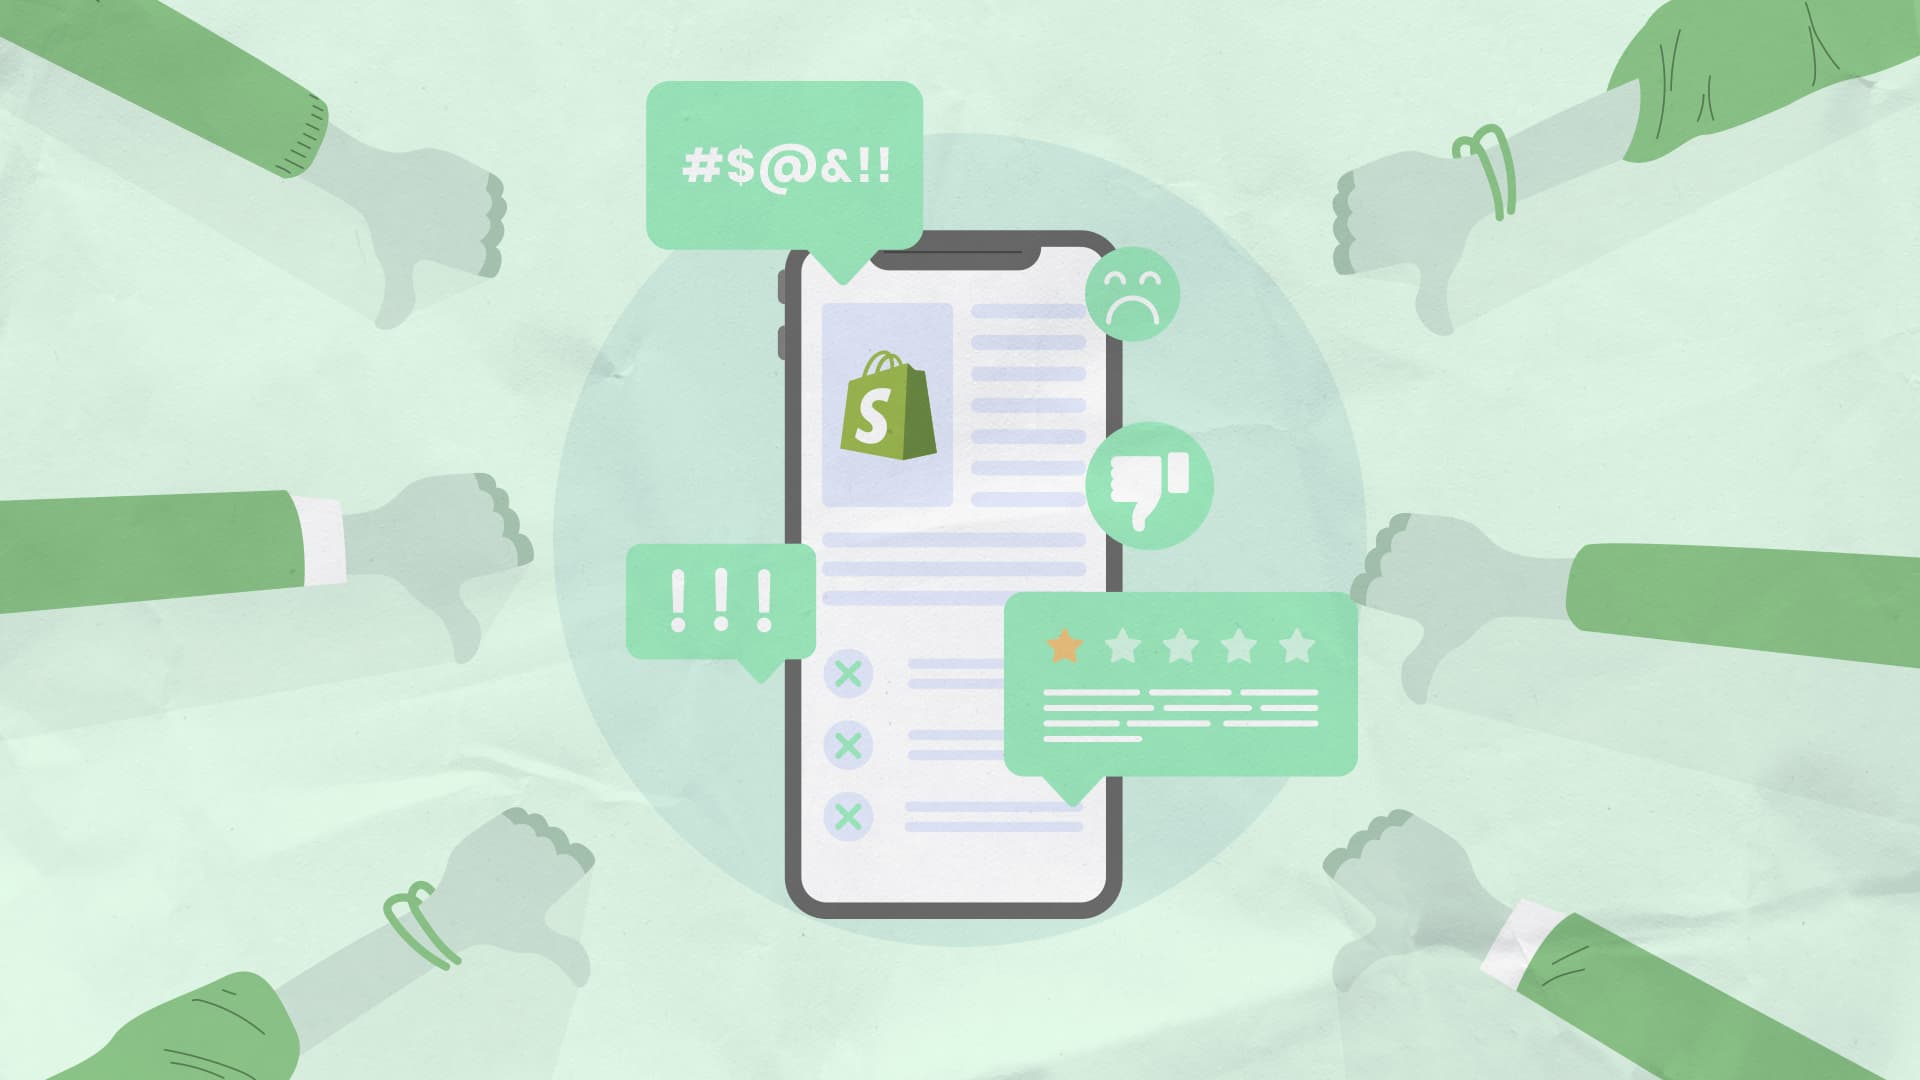
Did you know that images can directly affect the traffic and conversions of your website?
Images are usually the biggest factor towards page speed, which can influence both traffic and conversions if it's slow.
Beyond that, there's image search, which is another potentially big traffic source for your business.
In this guide, we'll cover how to optimise your images for Shopify to maximise page speed, conversions, and search traffic.
{{potential-cta}}
What is image optimization?
Image optimization is the process of modifying images so they load faster and can be understood by robots.
The most important part here is speed optimization. High resolution images come in large file sizes, which causes them to load slowly. Image optimization is the process of reducing these file sizes through methods such as changing file format, resizing, and image compression while best maintaining the image quality.
Why is image compression important?
Image compression is the process used to reduce the file size of images without resizing the image.
There are two types of compression:
- Lossy
- Lossless
Lossy usually results in smaller file sizes as it removes data from the images to make it smaller. This usually results in a slightly lower quality image, though with the right level of compression it shouldn't be overly noticeable. The major downside is it can't be reversed, so keep a backup of the original image.
Lossless, on the other hand, can be completely reversed as nothing is removed. The downside is you'll usually have larger file sizes, as there's not as much that can be done without deleting data from the image, but the quality will be better.
Now these aren't small file size reductions, they're massive.
Take a look at the differences in these 3 images I just compressed:

Two of the files are 77% smaller files and the least effective one is still 49% smaller. That's a significant reduction in loading time for your users, especially if there's multiple images on the page.
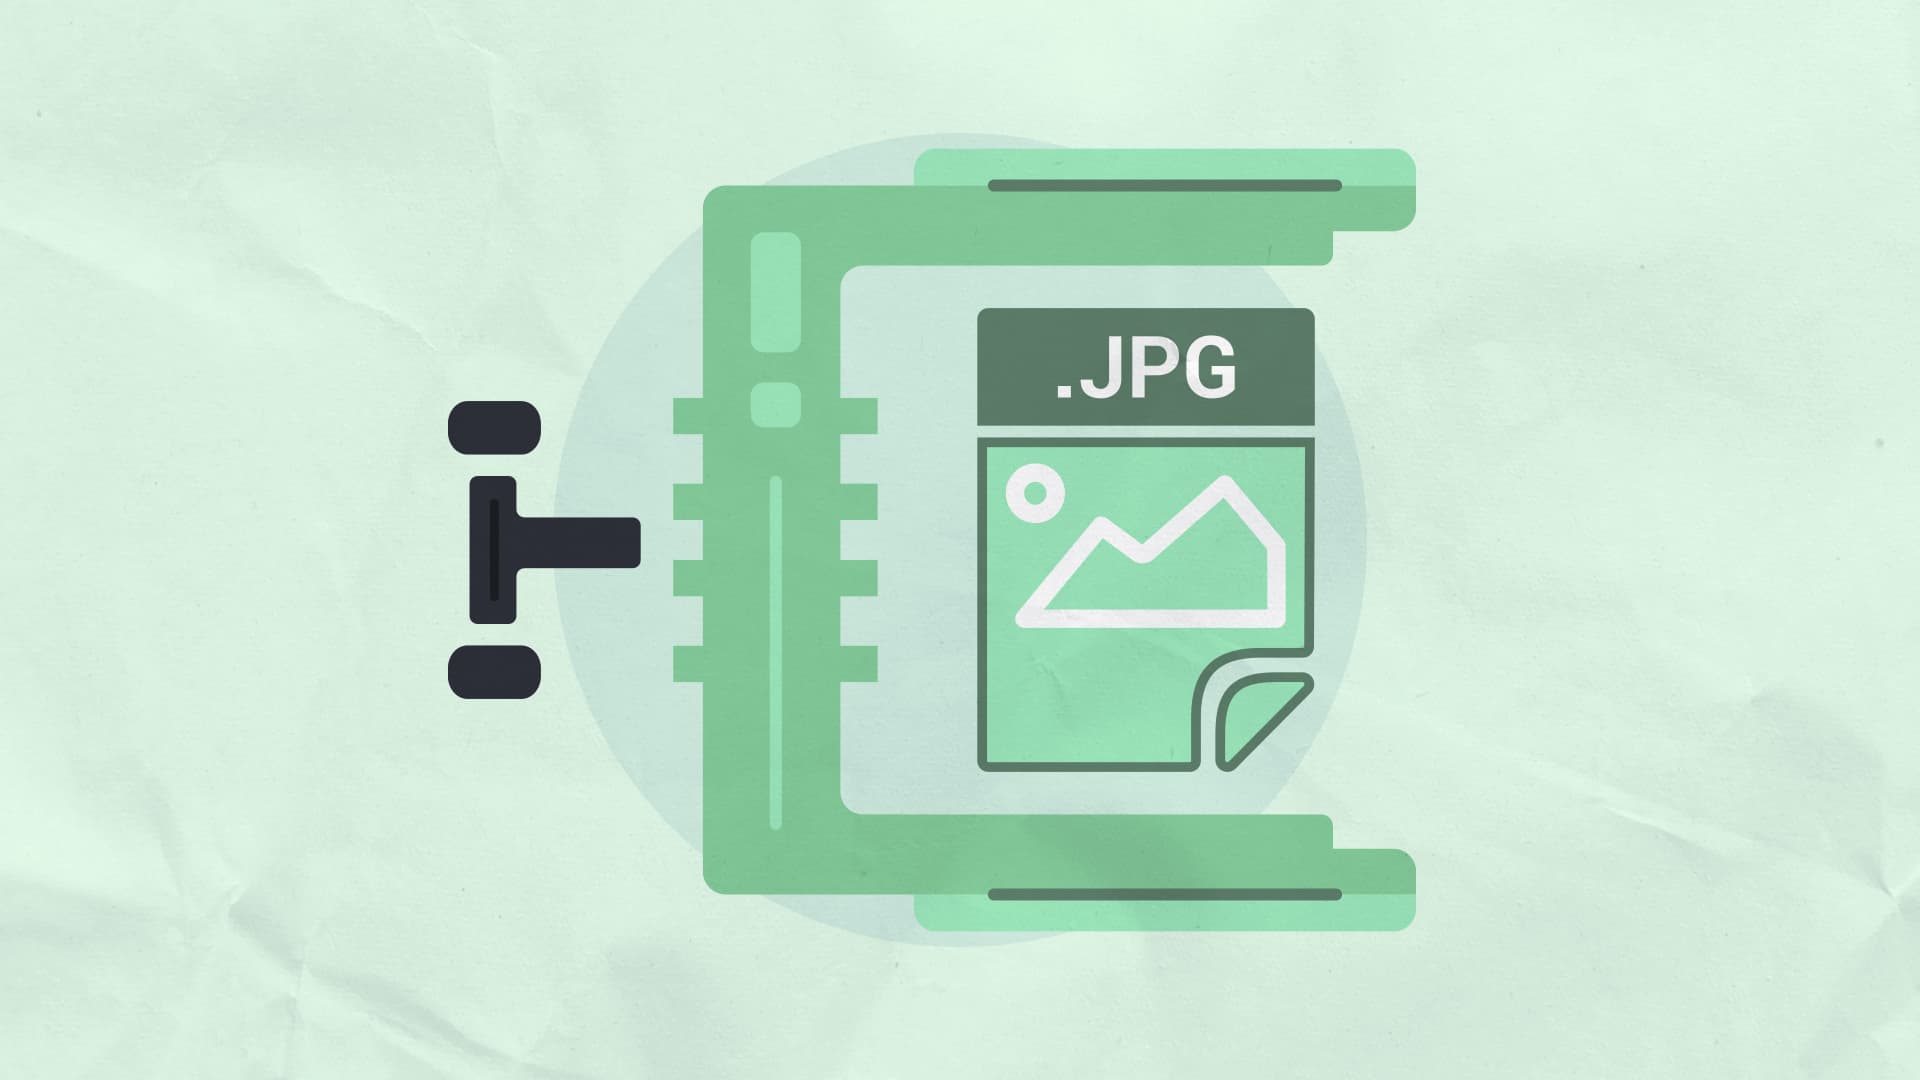
Different image formats
There are many image types you'll run across online, but the 3 most common ones are:
- JPEG: A lossy compression format that usually results in lower quality images, with the upside of significantly smaller file sizes when comparing with PNG. Can't be used for transparent images.
- PNG: A lossless compression format that's great for higher resolution and transparent images such as logos and important site elements. Downside is this comes with much larger file sizes than your typical JPEG, not recommended for most images.
- WebP: A modern file format developed by Google for smaller file sizes (both lossy and lossless compression) and support for transparent backgrounds. WebP lossless images are 26% smaller in size compared to PNGs. WebP lossy images are 25-34% smaller than comparable JPEG images.
In short, I'd usually recommend WebP or JPEG image formats for the smallest file sizes.
Shopify Image Sizing
Another important factor of image file size and page loading time is the literal size of the image. If you have an image that's far too big, you're unnecessarily loading a huge image only to shrink it down on the page anyway (which may look blurry on small devices as a result of this)
In terms of the maximum size then, Shopify allows up to 4472 x 4472 pixels or 20mb file size, but that's not recommended at all.
Shopify themselves recommend 2048 x 2048 pixels for square product images, though this will depend on your theme and desired resolution.
The point is that the size of the image will make a big difference to file size and quality, both too big and too small will be problematic, so try to size it to perfectly fit (not more than 2x) the exact size it'll be shown as on your website.
5 Image Optimization Apps
To make this easier, there are several Shopify Apps that can automatically compress and even all your images for you. Here's 5 popular ones.
1. Crush.pics
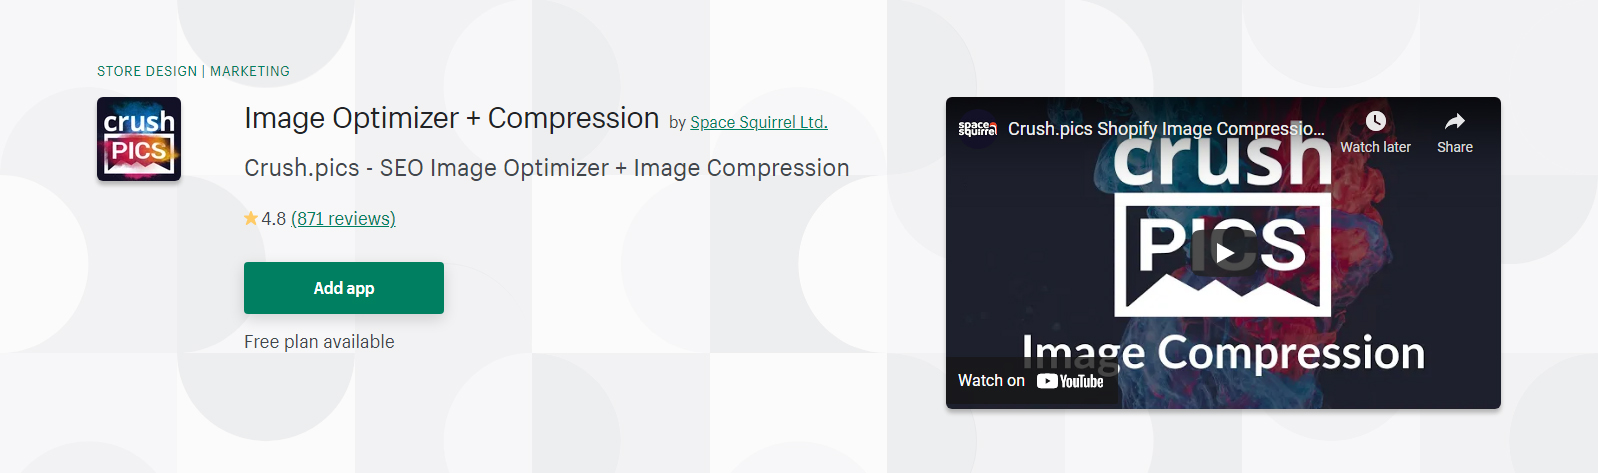
Link: (App Store)
Rating: 4.8 (869 reviews)
Pricing: Free to $19.99 per month
Top Features:
- Advanced image compression (2 levels or manual adjustment)
- Full automation (set it up once and it'll do everything)
- Advanced image SEO and ALT tag renaming
- Original image files stored for 30 days
- Not just product images
- Manually upload and compress any image
2. TinyIMG
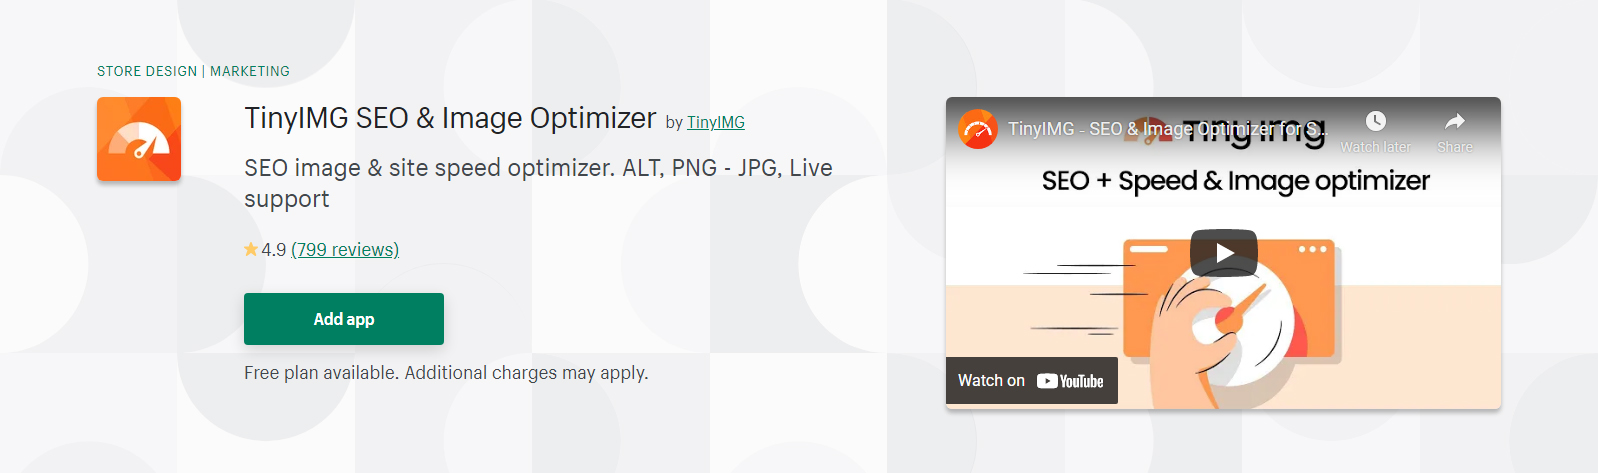
Link: (App Store)
Rating: 4.9 (796 reviews)
Pricing: Free to $4.99 per month
Top Features:
- Auto Image optimization
- Image resizing
- Edit Alt tags (Alt texts) and filenames
- Optimize metadata
- Automatic PageFly, LayoutHub images optimization (manual for Shogun, GemPages)
3. Minifier
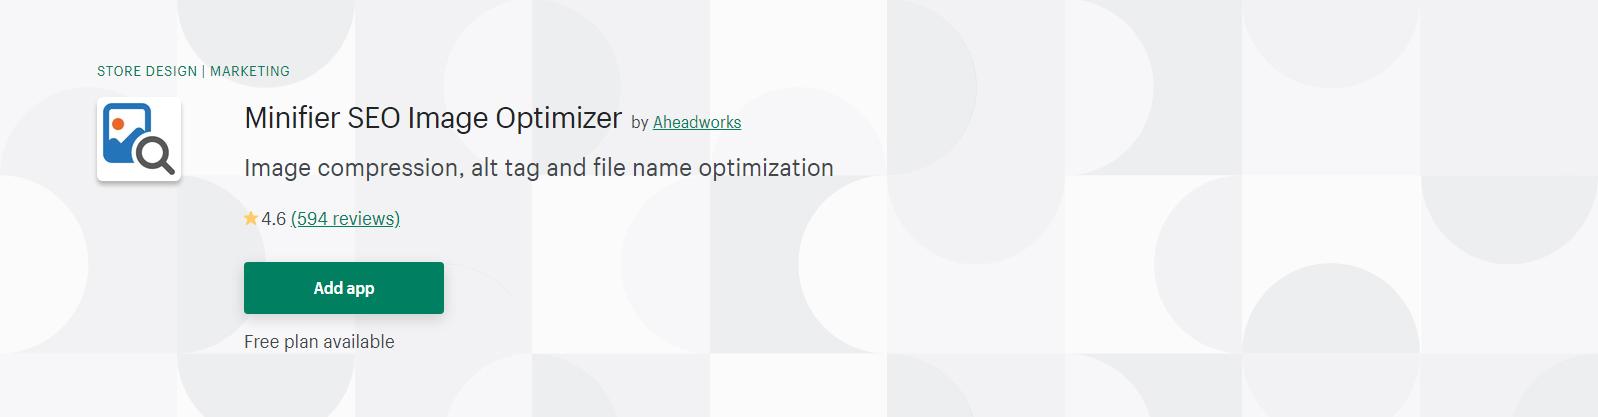
Link: (App Store)
Rating: 4.6 (594 reviews)
Pricing: Free to $14.99 per year
Top Features:
- Automatic image optimization mode (lossy or lossless)
- Optimization of alt-tags
- Optimization of file names
- IPTC information preservation (ICC color profile, date, copyright, geotags, orientation included)
- PNG to JPG
- 30-day free backup image storage
4. AVADA SEO: Image Optimizer

Link: (App Store)
Rating: 4.9 (1085 reviews)
Pricing: Free to $29 per month
Top Features:
- Image compression
- Auto Optimize Image ALT tag
- Other SEO settings unrelated to images
5. SEO Optimizer

Link: (App Store)
Rating: 4.6 (2767 reviews)
Pricing: Free to $44.99 per month
Top Features:
- Optimized image ALT tags
- Image Compression
- Lots of other SEO features
Author's Note: This app is overkill for image optimisation, but worth mentioning as it's a very popular app for this along with other SEO features. As an agency, we do all this work ourselves, so we never use this app for our clients.
Shopify Image Compression Tool
We recently launched our own image compressor with presets tuned for Shopify, capable of reducing sizes by up to 80% without visible image quality loss. We also support batch processing and secure file handling - for free. Check it out!
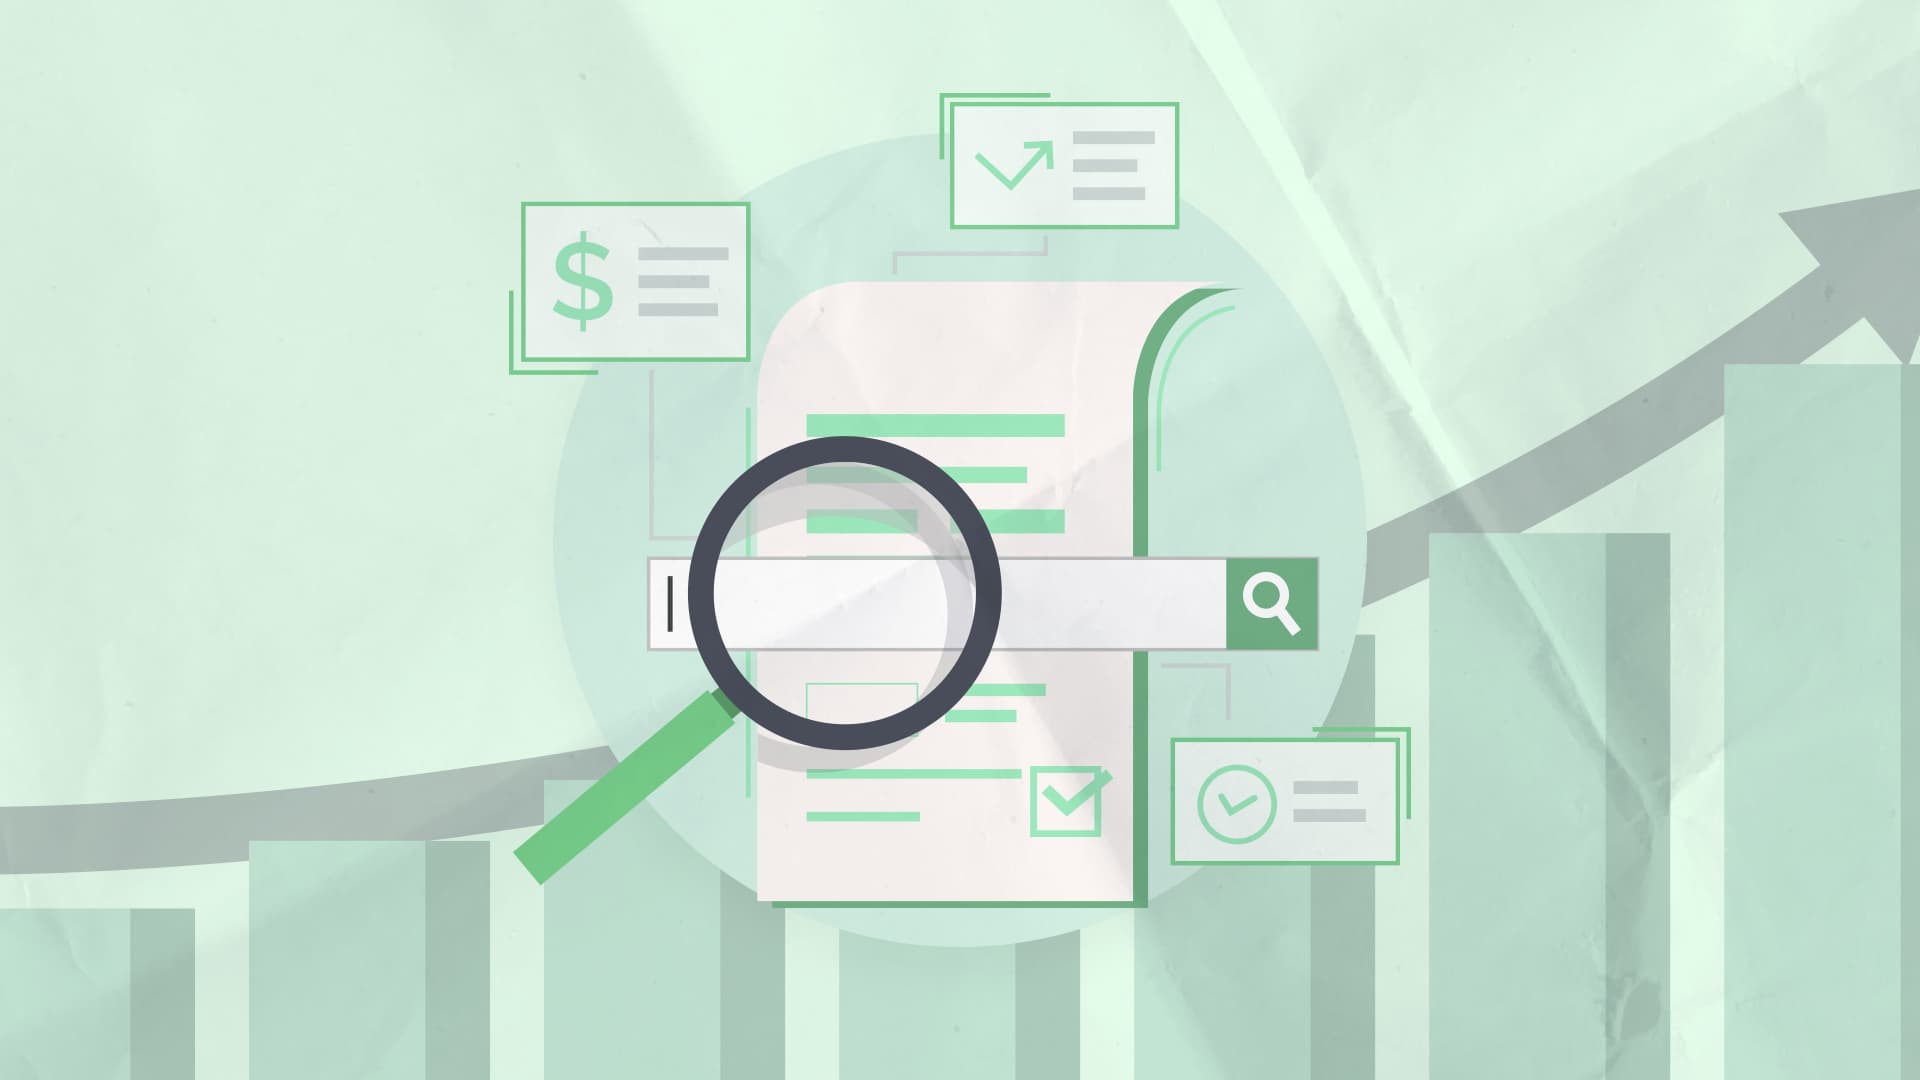
Optimizing your images for SEO
Now I wouldn't be a very good SEO if I didn't mention the SEO side of image optimization (though site speed certainly helps here too), there's 2 main factors you'll want to consider.
Image filenames
File names are the names of each of your image files, this is something search engines can read.
By default, your camera may name these similar to <code>IMG_1077.jpg</code>. But what is <code>IMG_1077</code>?
Instead, you should rename these files before uploading them to show what the image is about.
So if you have this image:
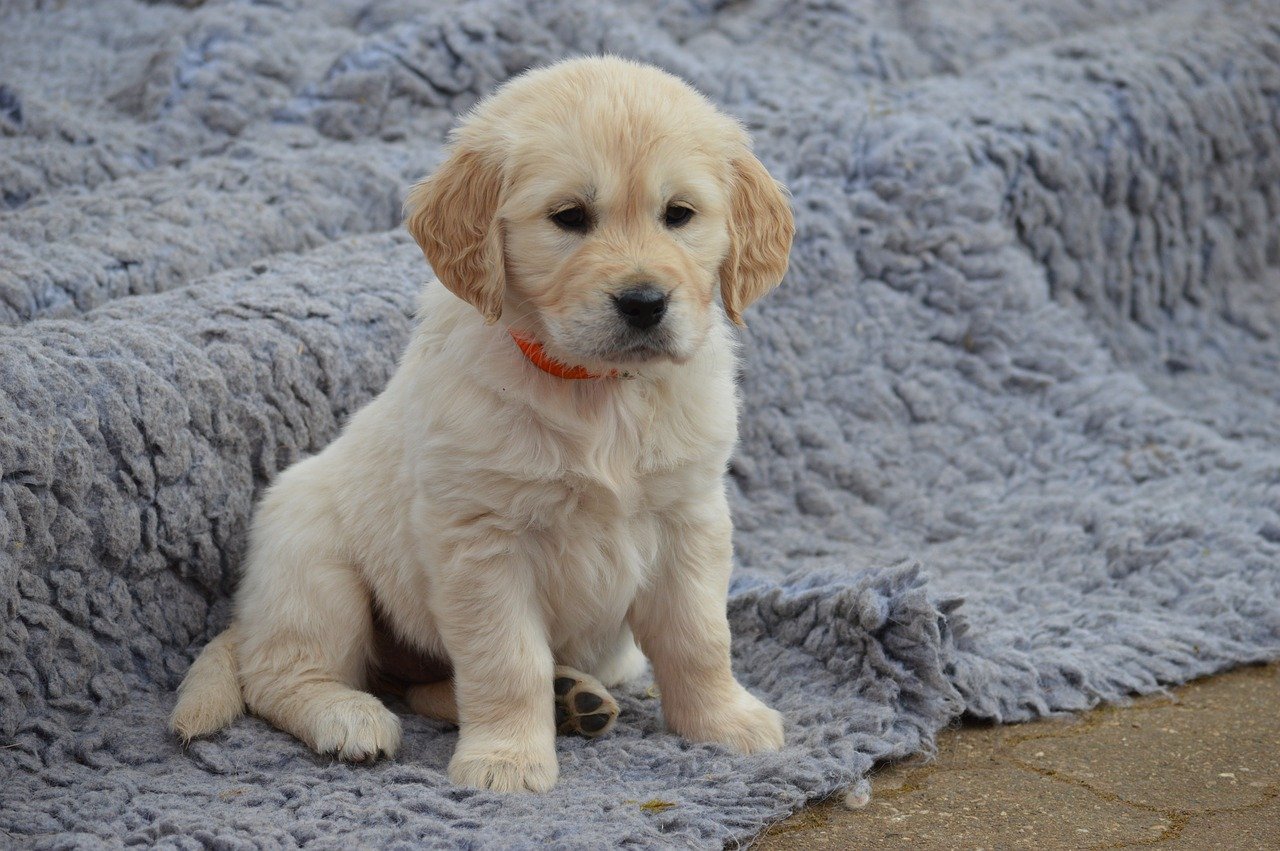
You may name it <code>golden-retriever-puppy.jpg</code>.
Detailed is great here, as is keyword usage, however don't overdo it or you'll risk over-optimising your page. This is especially important when there's several product images.
Image alt text and title
Alt text is short for alternative text, it's a description for robots to understand what the image is or users if the image is unable to load.
You should explain the image in detail here, which increases your page-level coverage of a topic for search engines, as well as supports potential visual disability users.
So rather than simply "red ferrari", your image alt text may be "2018 Ferrari California T in red".
The same can be applied to the image title, which shows when hovering over an image like this:

Both of these are controlled with a simple bit of code:
But in Shopify, it's as simple as:
- From your Shopify admin, go to Products > All products.
- Click the name of the product that has the image that you want to edit.
- From the product details page, click an image to see the Preview media page.
- Click Add ALT text.
- Enter your alt text, and then click Save ALT text.
How to optimize images for the web
1. Resize your images to be the size they'll be shown on your website
As mentioned previously, you don't want images to be unnecessarily shrunk down too much or stretched to display on your website. Figure out what size you need them in, then make them either that exact size or 2x that for retina displays.
2. Choose the right file format
Consider how important this image is. For product images, lossy is probably fine.
3. Compress images to smaller file sizes
Use an app shared above or tool to compress the images before (or after with apps) uploading to your website
4. Name your images descriptively
Make sure to name your image descriptively before uploading to your website though
5. Optimise your image alt attributes
Once uploaded, write a descriptive alt text and title attribute to explain the image
6. Use image sitemaps
If you want to rank these images inside Google Images, make sure they're submitted to an image sitemap (explained in FAQ).
7. Lazy load images
To make images load even faster, stop loading all images on the initial page load. Instead delay them until after they become visible on the screen. This will massively reduce loading times on collection pages, and can also help for products with several gallery images.
Frequently Asked Questions
Does Shopify optimize images?
Shopify's image quality levels after compression are as follows:
JPEG: Between 65 - 90 percent
PNG: 90 percent
GIF: no change in quality
I'd still recommend using an app to make sure this is done as well as it can be.
Why are my images blurry on Shopify?
It's most likely a result of Shopify stripping the image of its colour profile and compressing it upon importing. This can potentially cause images to display in a different colour and slightly blurry.
The best solution to fix this is modifying the size and resolution of photos, so they're not stretched or shrunk too much. As well as saving images without a colour profile, such as the "Save for Web" feature in Photoshop.
What size should Shopify images be?
Shopify recommends 2048 x 2048 pixels for square product images, though this will depend on your theme and desired aspect ratio.
Minimum of 1024x1024 is suggested.
How do I reduce the size of an image in Shopify?
You can resize images using Shopify's image editor:
- From your Shopify admin, go to Products > All products.
- Click the name of the product that has the image that you want to edit.
- In the Media section, click on the product image that you want to edit.
- Click Resize.
- Enter the new width for the image. The height is automatically updated to keep the same aspect ratio. If you want to resize the image without keeping the same aspect ratio, then click Lock aspect ratio. Resizing your image without Lock aspect ratio disabled can distort your image.
- Click Apply to resize the image.
- When you're done making edits in the image editor, click Save.
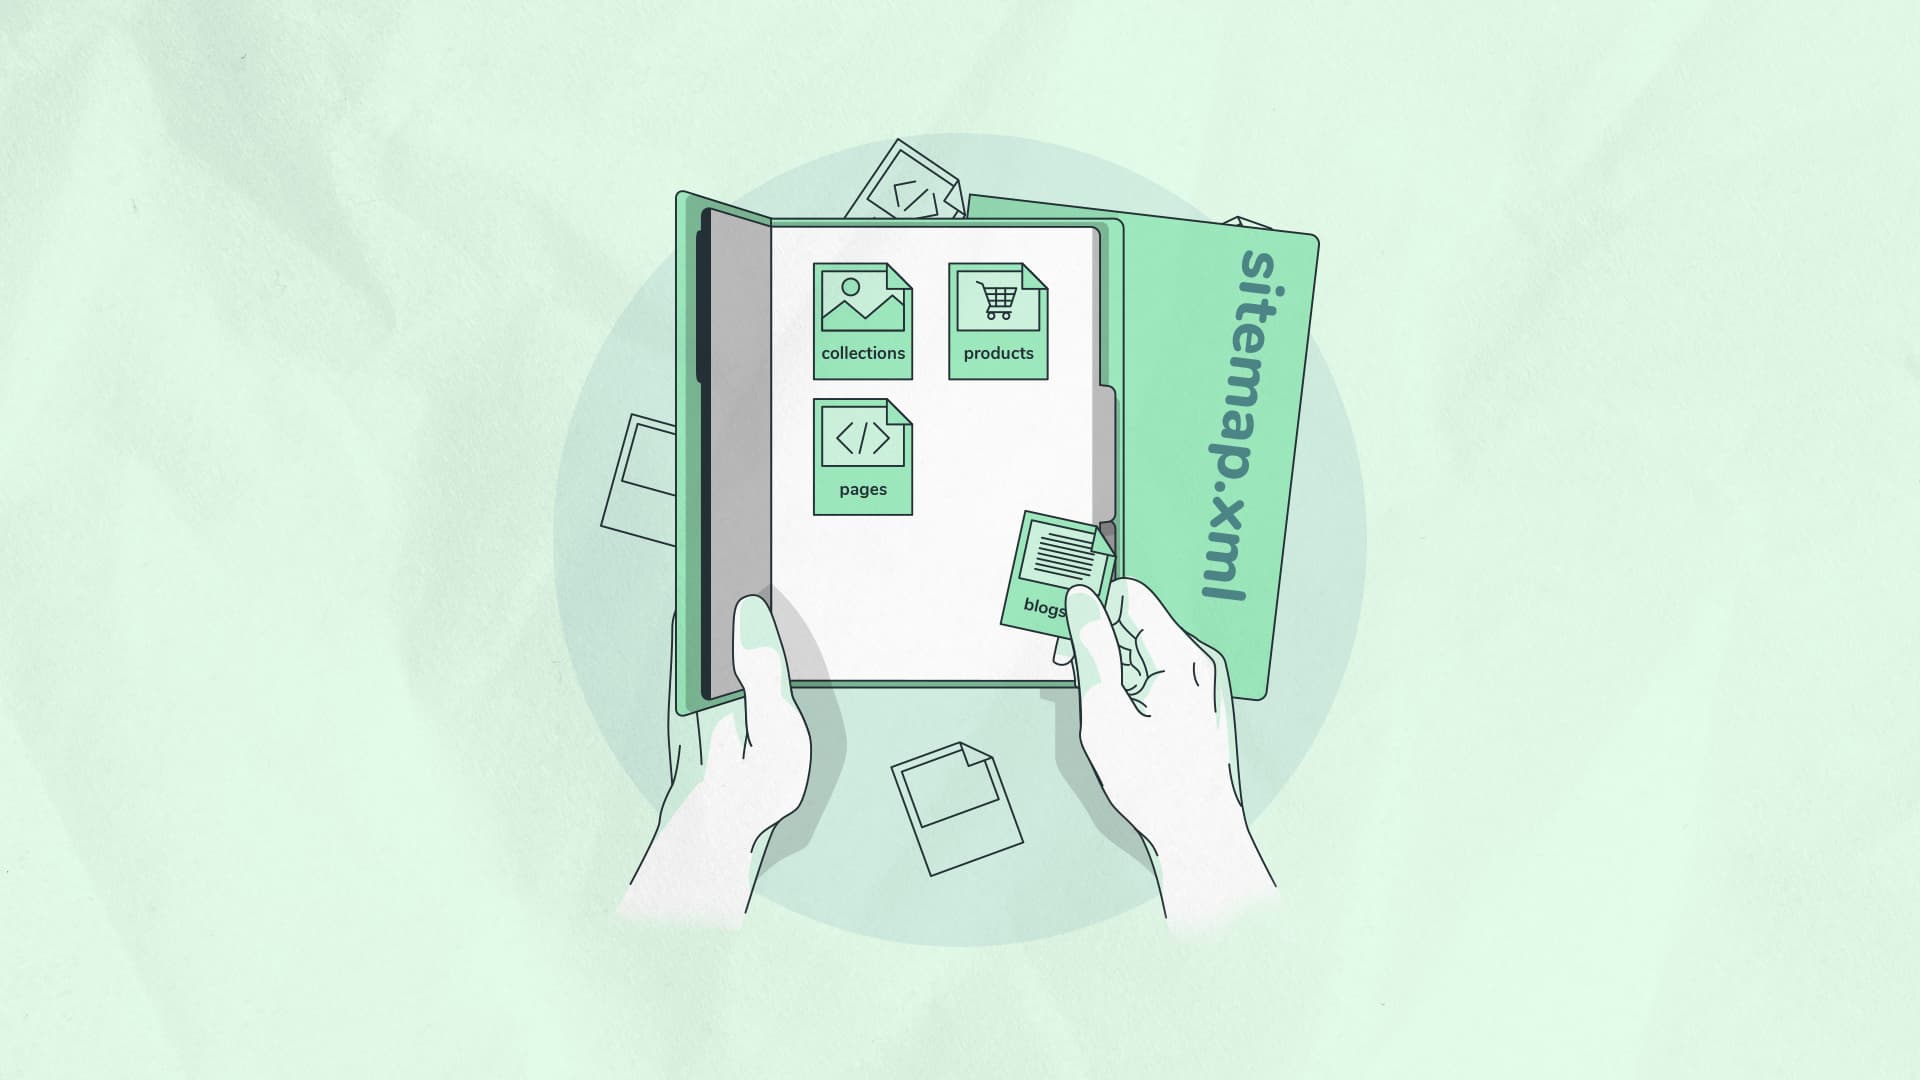
Does Shopify have an image sitemap?
Only for your main product image, which is shown in the products sitemap. To help with all your images being indexed, you may want to consider using an image sitemap app.
This can also be done manually with a tool like ScreamingFrog, but will also need to be updated manually if images are changed or new products are added.
Further Shopify Reading
For more advice on increasing traffic to your Shopify store, check out these articles:
- Blogging on Shopify
- Shopify Sitemap guide
- Getting around the 100 product variants limit
- Everything you need to know about Shopify SEO
{{potential-cta}}